
If you’re a DIY bride, you’ll probably have spotted a plethora of wedding place card options. It’s no surprise that people love acrylic place cards.
They’re versatile, coming in a variety of shapes and size. Plus, they’re super easy to customise with a few materials and tools.
How to make DIY acrylic place cards
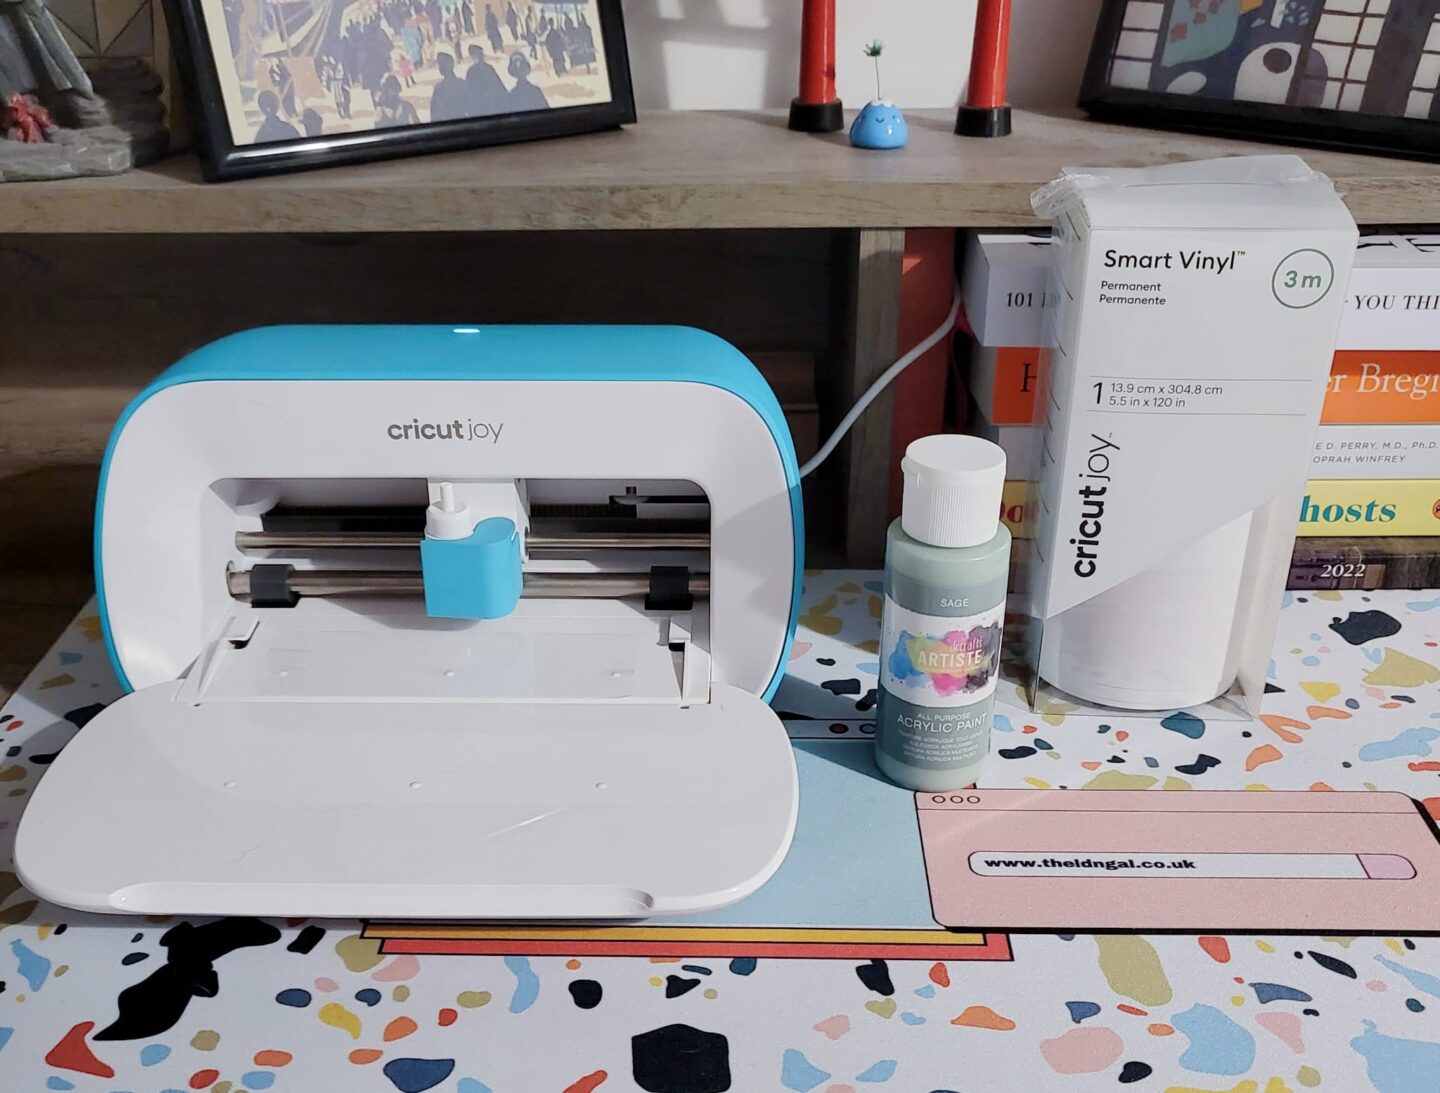
To make your acrylic place cards, you’ll need:
- Acrylic place cards (in your chosen shape)
- Acrylic paint
- A good quality acrylic paint brush
- Vinyl for the vinyl names (pre-made or bought)
- Cricut tools
How to prepare your vinyl names
Firstly, you’re going to want to prepare your vinyl. You can buy pre-made vinyl names for place cards on Etsy or make your own using a Cricut machine and buying Cricut vinyl.
I appreciate a Cricut machine is a serious investment for many but with machines starting at £150 you can make some serious savings if you’re planning to DIY a lot of your wedding.
If you opt to use a Cricut machine to make vinyl names for place cards, here are some tips:
- Check the size of your vinyl name in Cricut Design Space against the size of your acrylic sheet
- Reduce the letter space by 0.3 for italicized or thin lettering to allow for a smoother cut
- Apply the more pressure setting in the make it window if your having trouble weeding
- Use masking tape to lift and transfer your vinyl to the acrylic if you’re having trouble with transfer tape
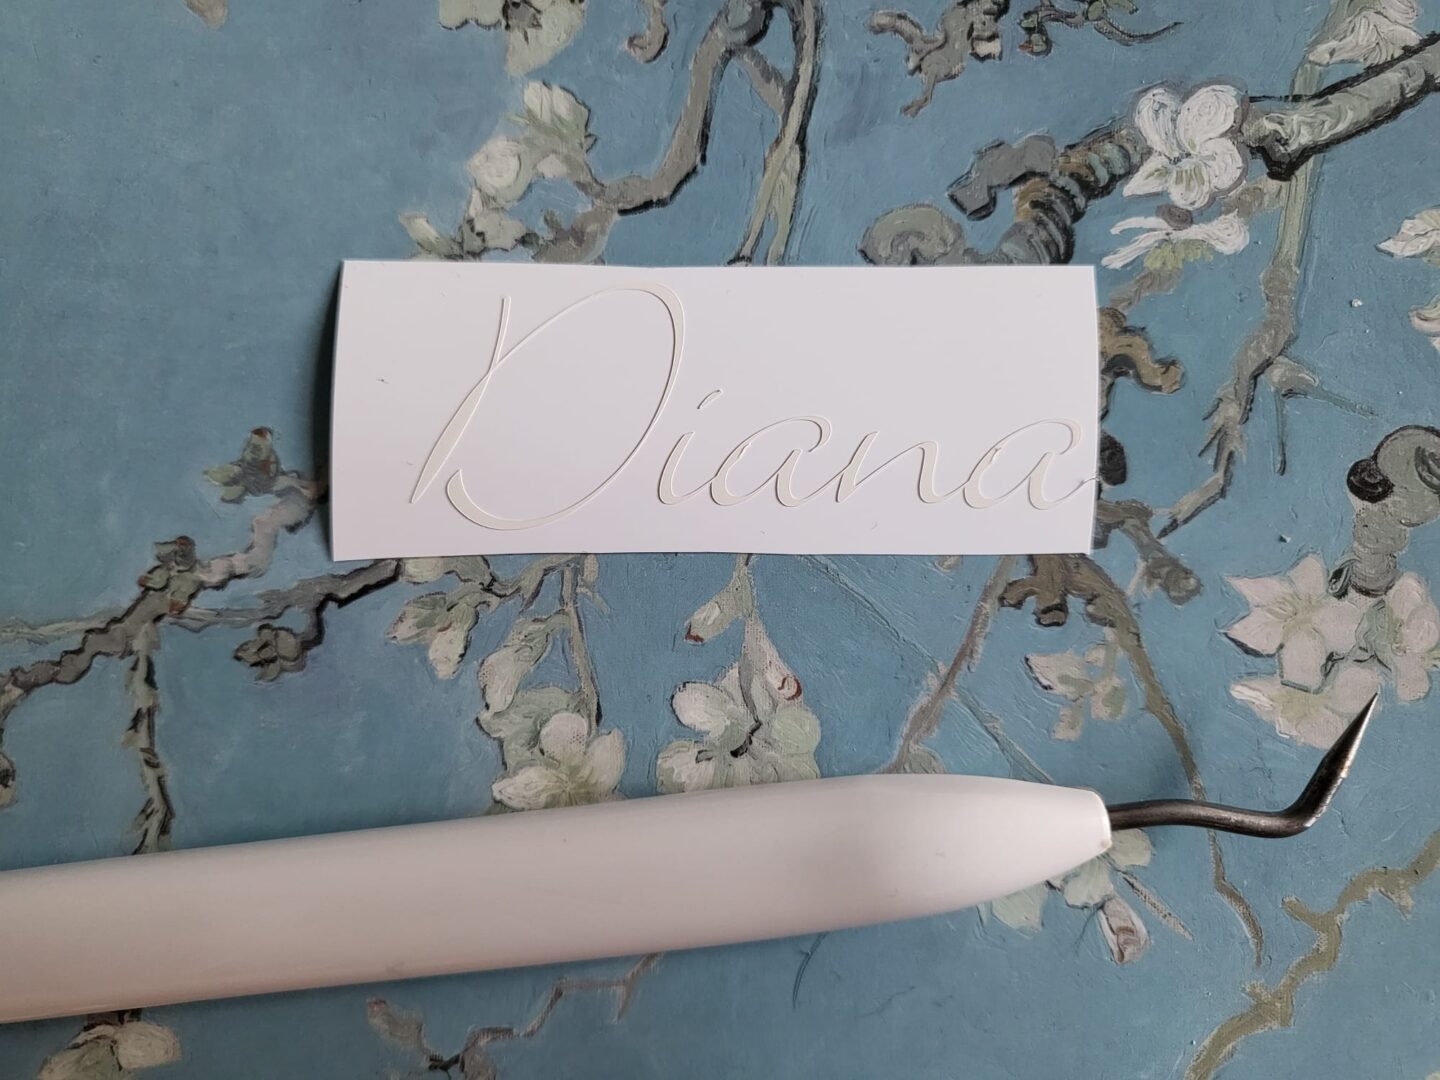
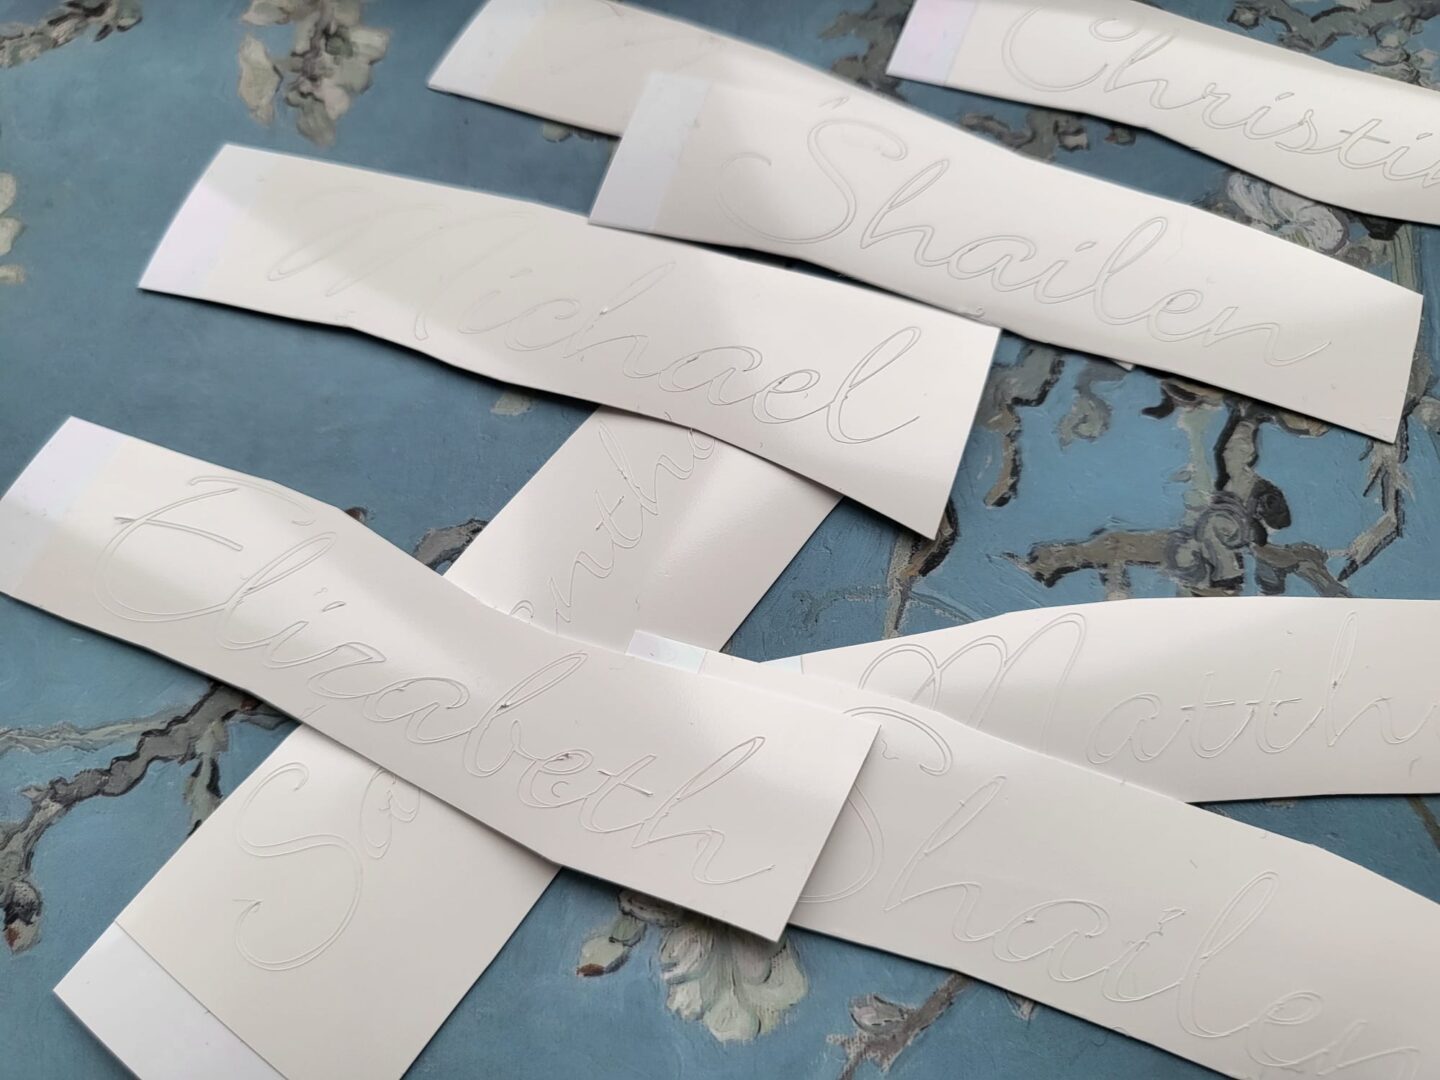
Once you’ve got your vinyl names in a bundle, you’re going to want to carefully weed them.
You can do this using the weeding tool. Until you’re confident, go slow! Some people try reverse weeding. This is where they apply transfer tape to the vinyl and then peel the backing paper from the vinyl.
You can also use the weeding tool to tidy up any odd nicks on the vinyl before application.
I used font Bickley Script Com on Cricut Design Space for all of these place cards.
Applying your vinyl to your acrylic place cards
To apply your vinyl, simply use transfer tape or masking tape (my preference). You’ll want to use the Cricut scraper tool and gently lift to ensure a successful transfer. This may take a few goes.
Once the design if on the tape, you’ll want to place it on your acrylic place card carefully.
To ensure it’s secure, you’ll then want to brush over it before gently peeling to make sure it’s stuck. For this, you’ll want to use the scraper tool again.

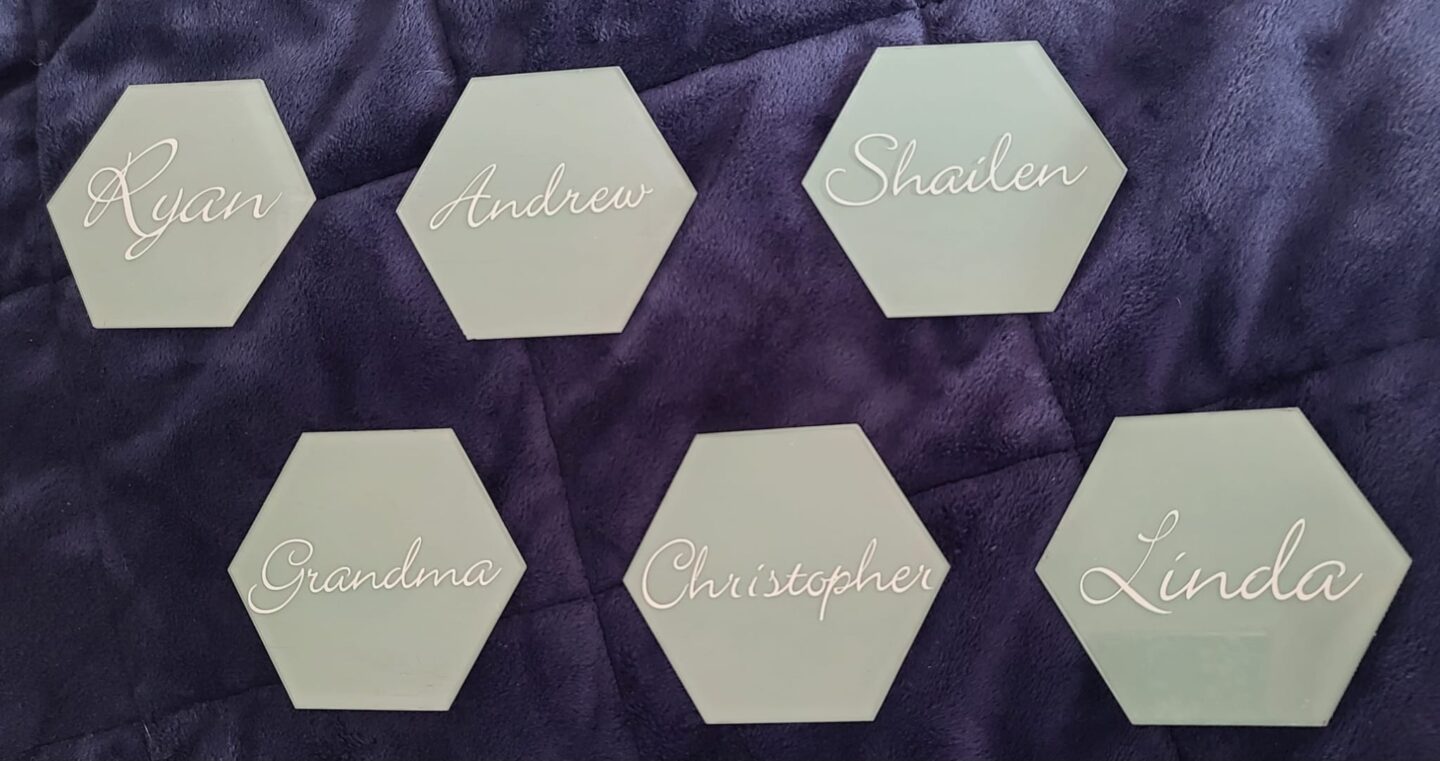
Painting your acrylic place cards
When painting your acrylic place cards, you’re going to want to do so with acrylic paint. You’ll paint on one side and use your vinyl names upon the other.
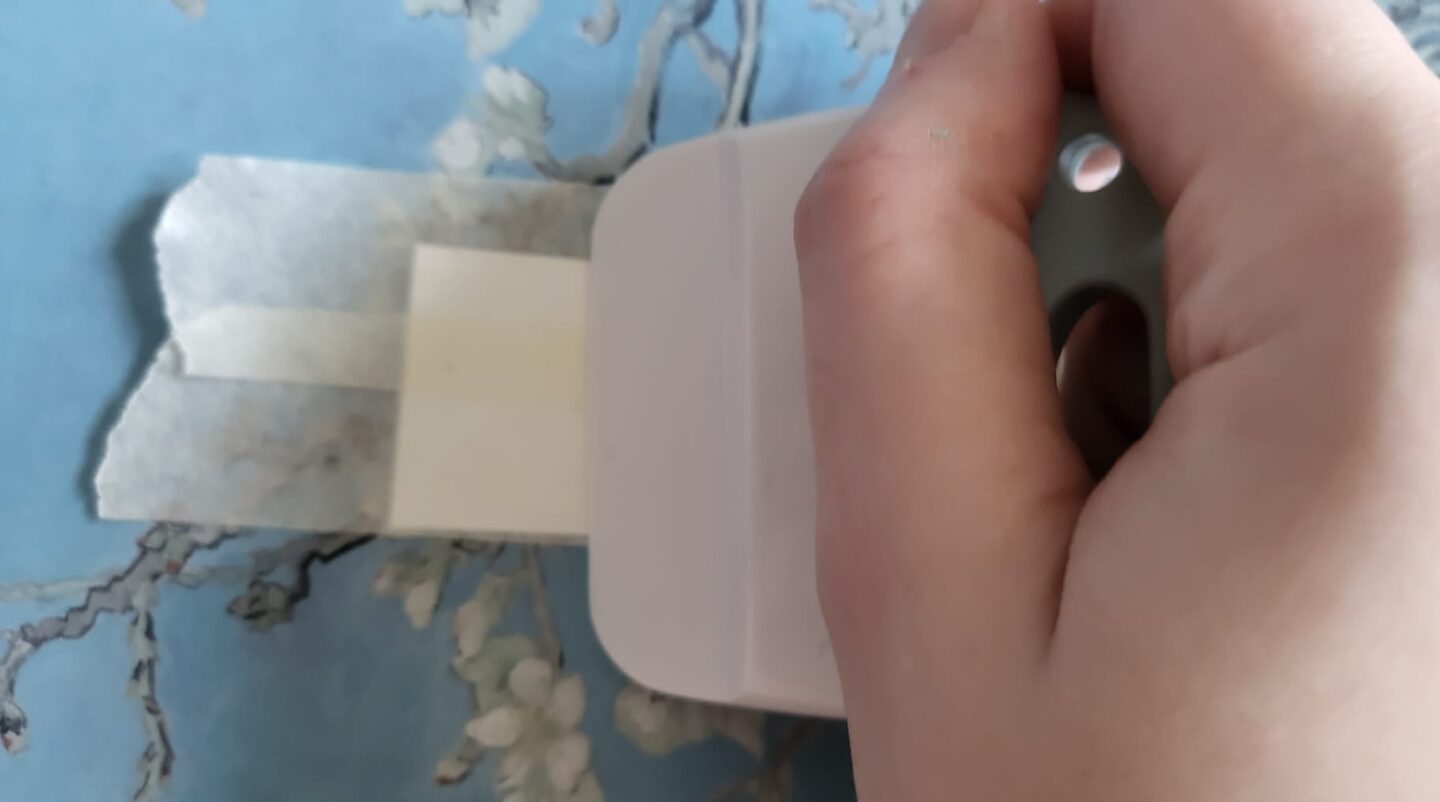
Firstly, you’re going to want to peel the protective film off both sides of the acrylic.
Next, you’ll add a small blob of acrylic paint. I tend to use this blob to dot around the entire sheet and then paint from left to right evenly.
You may choose to paint the entire sheet, or leave areas bare. You can decide whether you want to only do one coat for a rustic feel or apply another.
To match my wedding colours, I used the following sage green acrylic paint which I can highly recommend. These flat acrylic paint brushes were also brilliant for painting.
Save money by DIYing your wedding
You can save a lot of money by DIYing your place cards.
To do all of these, materials cost less than £40 to make 70 place cards! This included the Cricut white vinyl, the paint brushes, the acrylic paint and the acrylic slices.
Plus, there was plenty of material left over for future wedding projects!
What do you think of these DIY acrylic place cards? Would you make them for your wedding?
Stephanie xox
Want more lifestyle reviews and news?
I personally have used all items within this post. However, it does contain affiliate links

